
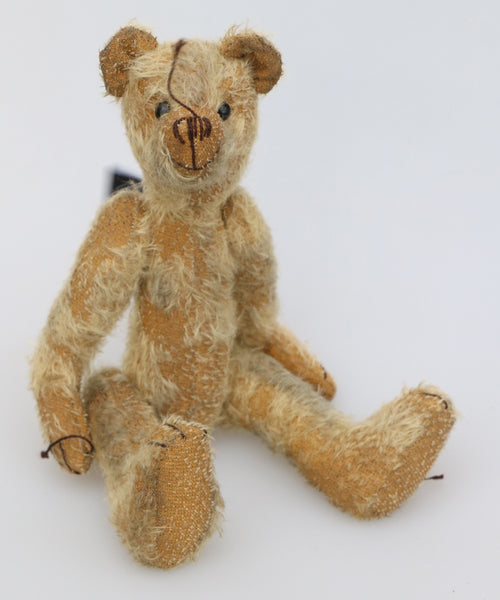
Barbara Ann Bears, Andy Near The Sea, Wild but Gorgeous... who are we?
We are Barbara and Andy Cunningham and this is the home for Barbara Ann Bears made near the sea in beautiful South West Scotland.
Barbara-Ann Bears started in 1990, we've won awards and they've been on TV (Marigold's teddy bear in Downton Abbey was made by us). You will also find our home made 'Andy Near The Sea' greeting cards here.
Please look at our other website makeateddy.com for our teddy bear making patterns, kits and mohair.
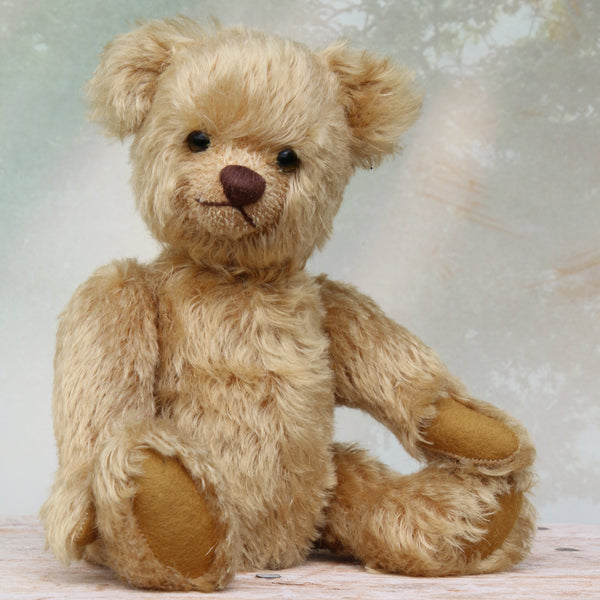
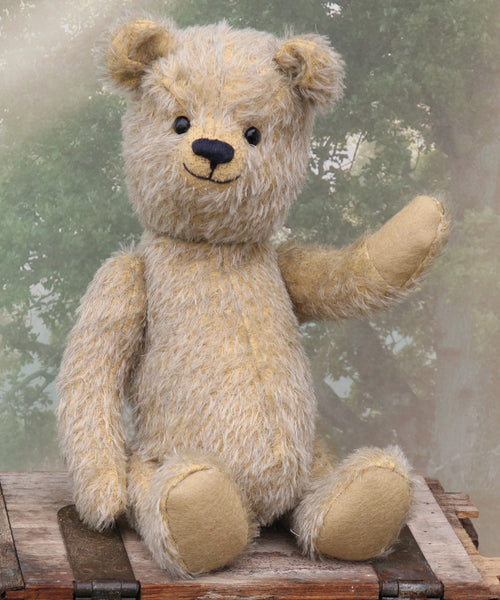
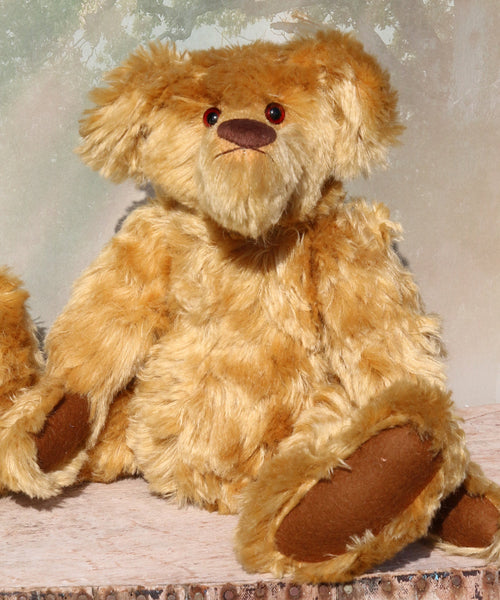
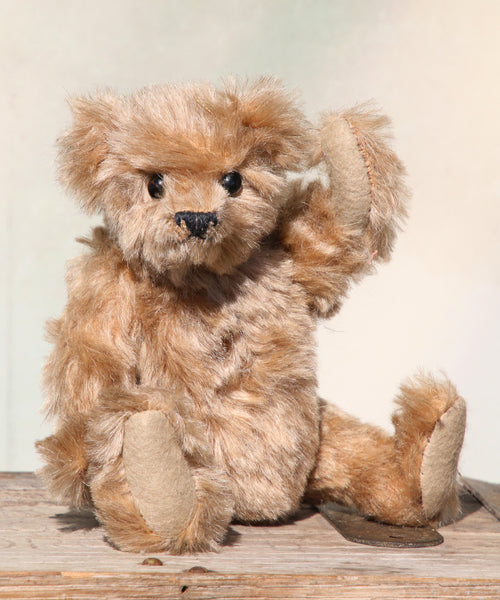
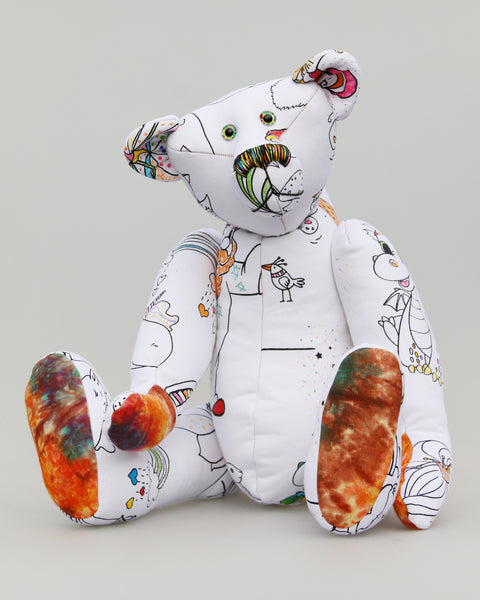
Barbara-Ann Bears, Artist Teddy Bears

Regular price
£190.00

Regular price
£395.00

Regular price
£390.00


Regular price
£295.00


Regular price
£190.00

Regular price
£85.00

Regular price
£140.00

Regular price
£245.00